Dynamic Jenkins Agents on Kubernetes
The Jenkins setup I inherited at IBM was the kind that accumulates over years: a set of EC2 instances registered as static agents, each one a special snowflake with its own installed tools, its own maintenance history, and its own way of breaking. Agents sat idle most of the time, burned money, and fell out of sync with each other. When a build failed because "the agent doesn't have Go 1.13 installed," you'd SSH into the instance and install it, and maybe do the same on the other three agents, and then forget to document it. Months later someone would add a fifth agent and the problem would repeat.
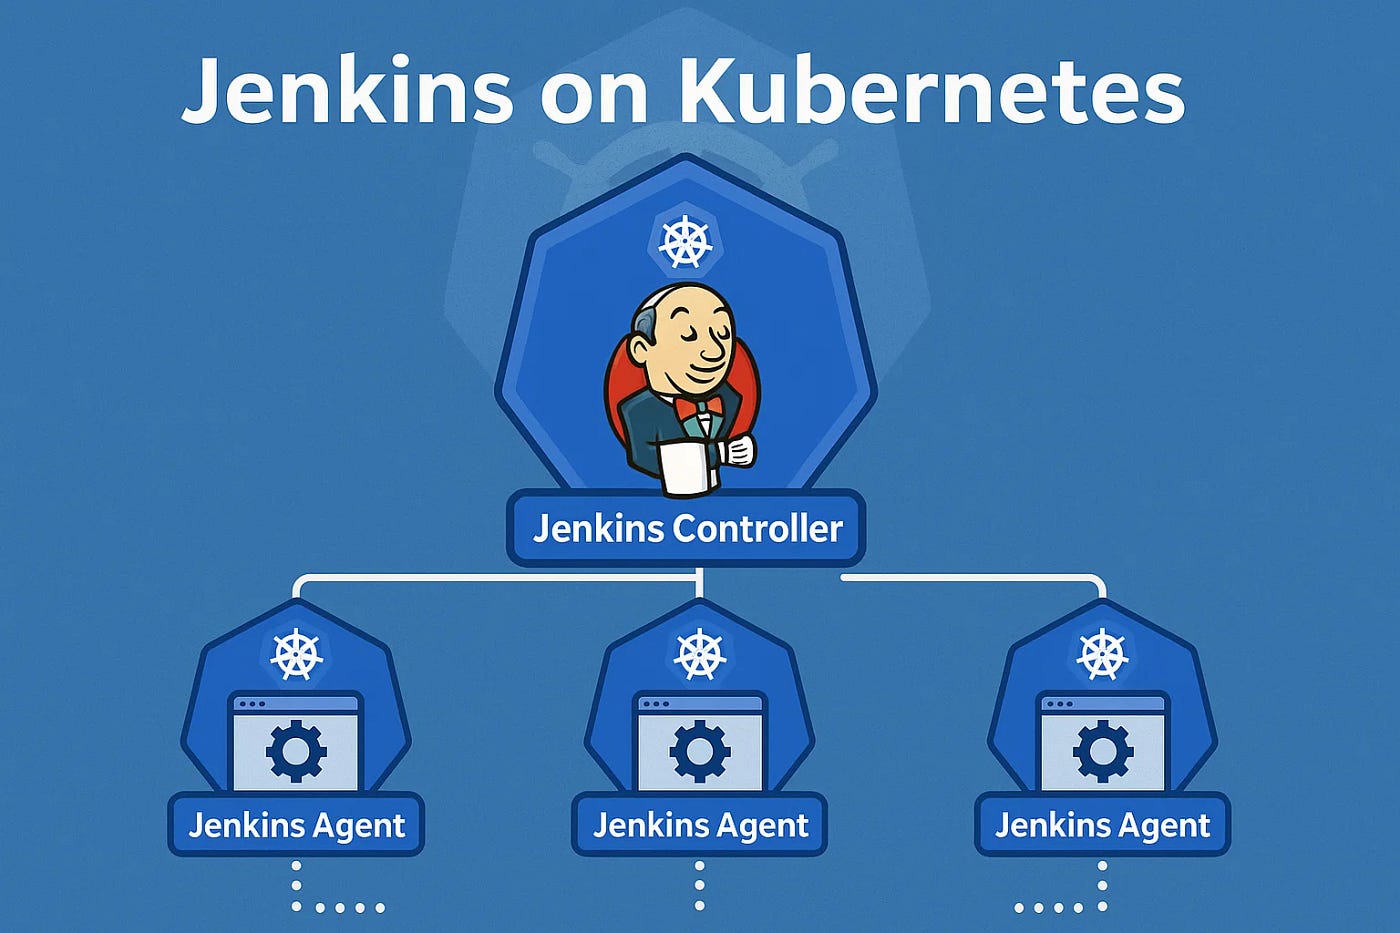
The Kubernetes plugin solved this by making build agents ephemeral. A build starts, a pod spins up, the build runs, the pod terminates. The agent is defined as code in the Jenkinsfile. Every build gets a clean environment. No drift, no snowflakes.
The Problem with Static Agents
Static agents have a few failure modes that are all predictable but annoying:
Tool sprawl. Every team needs something slightly different installed. Over time the agent accumulates every tool any build has ever needed, pinned to whatever version was current when it was installed.
Executor waste. Static agents have a fixed executor count. Idle executors are paid-for capacity doing nothing. Busy executors queue your build behind someone else's.
State pollution. A build that leaves artifacts, modified files, or running processes on the agent affects subsequent builds on the same agent. Intermittent failures that are nearly impossible to reproduce.
How the Kubernetes Plugin Works
The Jenkins master runs somewhere persistent — in our case, an EKS pod with a persistent volume for the Jenkins home directory. When a build starts, the Kubernetes plugin creates a pod in the configured namespace. That pod contains at minimum a JNLP container (more on that shortly) and whatever build containers you've defined. The JNLP container connects back to the Jenkins master, registers as an agent, and the build runs. When the build finishes, the pod is deleted.
The pod definition lives in the Jenkinsfile. The agent is code, reviewed alongside the build code, versioned with the project.
Configuring the Cloud in Jenkins
Before the Jenkinsfile side works, you configure the Kubernetes cloud in Jenkins: Manage Jenkins → Manage Nodes and Clouds → Configure Clouds → Add a new cloud → Kubernetes.
Key fields:
- Kubernetes URL: the API server endpoint. If Jenkins is running inside the cluster, leave this blank and it uses the in-cluster config.
- Kubernetes Namespace: the namespace where build pods will be created.
- Jenkins URL: how the JNLP agent in the pod will reach the Jenkins master. Must be reachable from inside the cluster — use the Kubernetes service DNS name, not localhost.
- Credentials: a kubeconfig credential or a service account token.
The Jenkinsfile Pod Template
pipeline {
    agent {
        kubernetes {
            yaml """
apiVersion: v1
kind: Pod
metadata:
  labels:
    build: key-manager
spec:
  serviceAccountName: jenkins-build
  containers:
    - name: jnlp
      image: jenkins/inbound-agent:4.3-4
      resources:
        requests:
          cpu: 100m
          memory: 256Mi
    - name: golang
      image: golang:1.13-alpine
      command: ['cat']
      tty: true
      resources:
        requests:
          cpu: 500m
          memory: 512Mi
        limits:
          cpu: 2
          memory: 2Gi
      volumeMounts:
        - name: go-module-cache
          mountPath: /go/pkg/mod
    - name: docker
      image: docker:19.03-dind
      securityContext:
        privileged: true
      volumeMounts:
        - name: docker-sock
          mountPath: /var/run/docker.sock
  volumes:
    - name: go-module-cache
      persistentVolumeClaim:
        claimName: go-module-cache-pvc
    - name: docker-sock
      hostPath:
        path: /var/run/docker.sock
"""
        }
    }
    stages {
        stage('Test') {
            steps {
                container('golang') {
                    sh 'go test ./...'
                }
            }
        }
        stage('Build Image') {
            steps {
                container('docker') {
                    sh 'docker build -t key-manager:${BUILD_NUMBER} .'
                }
            }
        }
    }
}
The container('golang') step directs subsequent sh commands to run in the golang container. Without it, commands run in the jnlp container, which has a minimal environment.
The JNLP Container: Do Not Mess With It
This is the most common mistake I see with the Kubernetes plugin. The jnlp container is how the pod connects back to the Jenkins master. It's not optional. If you forget to include it in your pod template, the plugin adds it automatically — but only if you leave the container name jnlp alone.
Problems arise when:
-
You define a container named
jnlpwith an image that isn't the Jenkins inbound agent. The plugin uses the first container namedjnlpas the agent connector. If that container is your application, it won't speak the JNLP protocol and the agent will never connect. -
You set a custom
commandorargson thejnlpcontainer that overrides the entrypoint. The inbound agent image has a specific entrypoint that handles the connection to the master. Overriding it breaks the connection. -
You forget that the
jnlpcontainer needs network access to the Jenkins master on the JNLP port (default 50000). If your network policy doesn't allow this, the agent will spin up and then immediately fail to connect.
When an agent fails to connect, the symptom is the pod starts, appears healthy in Kubernetes, but Jenkins never picks it up as an available executor. The build hangs in the queue with "waiting for agent."
Debugging Failed Agents
When an agent pod isn't connecting:
# Watch pods as they come and go
kubectl get pods -n jenkins --watch

# Once you see the stuck pod, look at the JNLP container logs
kubectl logs -n jenkins <pod-name> -c jnlp

# Common error messages:
# "Failed to connect to Jenkins master" — network policy or wrong Jenkins URL
# "JNLP secret mismatch" — the agent was re-registered, old secret is stale
# Container in CrashLoopBackOff — usually the jnlp container command was overridden
The Jenkins master logs also show the agent connection attempts. Manage Jenkins → System Log → All Jenkins Logs, filter for the pod name.
RBAC for the Build Service Account
The pod runs with a service account that needs permission to manage pods in the build namespace. Minimal required permissions:
apiVersion: rbac.authorization.k8s.io/v1
kind: Role
metadata:
  name: jenkins-build
  namespace: jenkins
rules:
  - apiGroups: [""]
    resources: ["pods"]
    verbs: ["create", "delete", "get", "list", "watch"]
  - apiGroups: [""]
    resources: ["pods/log"]
    verbs: ["get", "list"]
  - apiGroups: [""]
    resources: ["pods/exec"]
    verbs: ["create"]
---
apiVersion: rbac.authorization.k8s.io/v1
kind: RoleBinding
metadata:
  name: jenkins-build
  namespace: jenkins
subjects:
  - kind: ServiceAccount
    name: jenkins-build
    namespace: jenkins
roleRef:
  kind: Role
  name: jenkins-build
  apiGroup: rbac.authorization.k8s.io
The jenkins-build service account is what you specify in serviceAccountName in the pod template.
Caching with Persistent Volumes
Without caching, every build re-downloads Go modules, npm packages, or Maven dependencies from the internet. On a Go project with 40 dependencies, that's 30 extra seconds per build, and it means your builds fail if the module proxy is having a bad day.
The solution is a PVC mounted into the build container at the cache directory. For Go modules:
volumes:
  - name: go-module-cache
    persistentVolumeClaim:
      claimName: go-module-cache-pvc
# Create the PVC once
kubectl apply -f - <<EOF
apiVersion: v1
kind: PersistentVolumeClaim
metadata:
  name: go-module-cache-pvc
  namespace: jenkins
spec:
  accessModes: [ReadWriteMany]
  storageClassName: efs-sc  # or any RWX-capable storage class
  resources:
    requests:
      storage: 10Gi
EOF
ReadWriteMany is required because multiple build pods may be running simultaneously and all need to read from (and potentially write to) the cache. ReadWriteOnce will cause pods to fail to mount on nodes other than the one that holds the volume.
What This Replaced
After we rolled this out, the static agent fleet went away. Build environments were defined in Jenkinsfiles alongside the code they built. New tool versions were a one-line image change in the Jenkinsfile, reviewable in a pull request. Build isolation meant the flaky "works on my agent" failures went away. The operational burden of maintaining agent VMs disappeared.
The main investment is upfront: configuring the Kubernetes cloud, getting the RBAC right, setting up the PVC storage class. Once it's running, it's largely self-maintaining in a way that a fleet of EC2 instances never was.